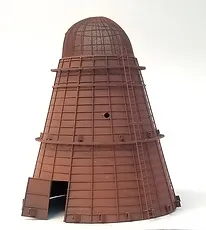
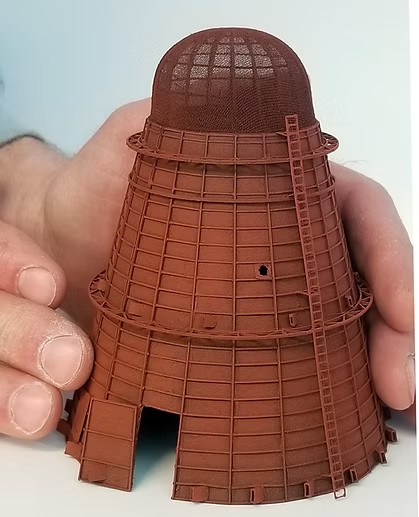
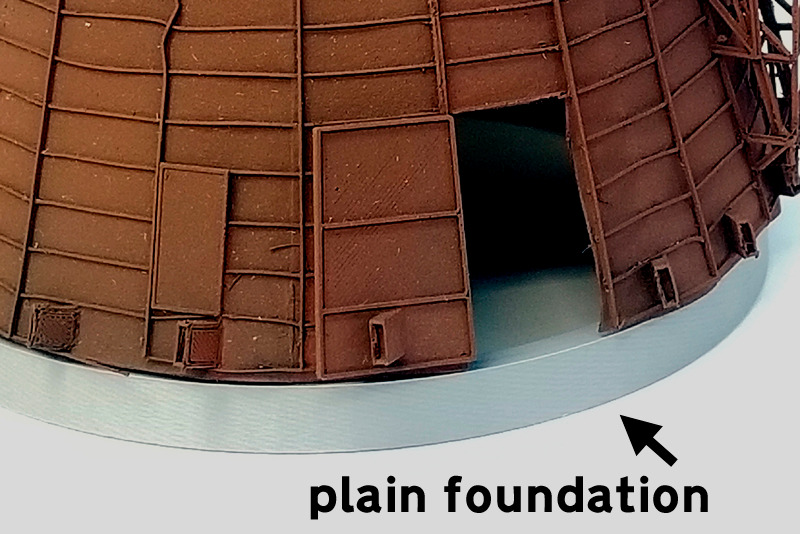
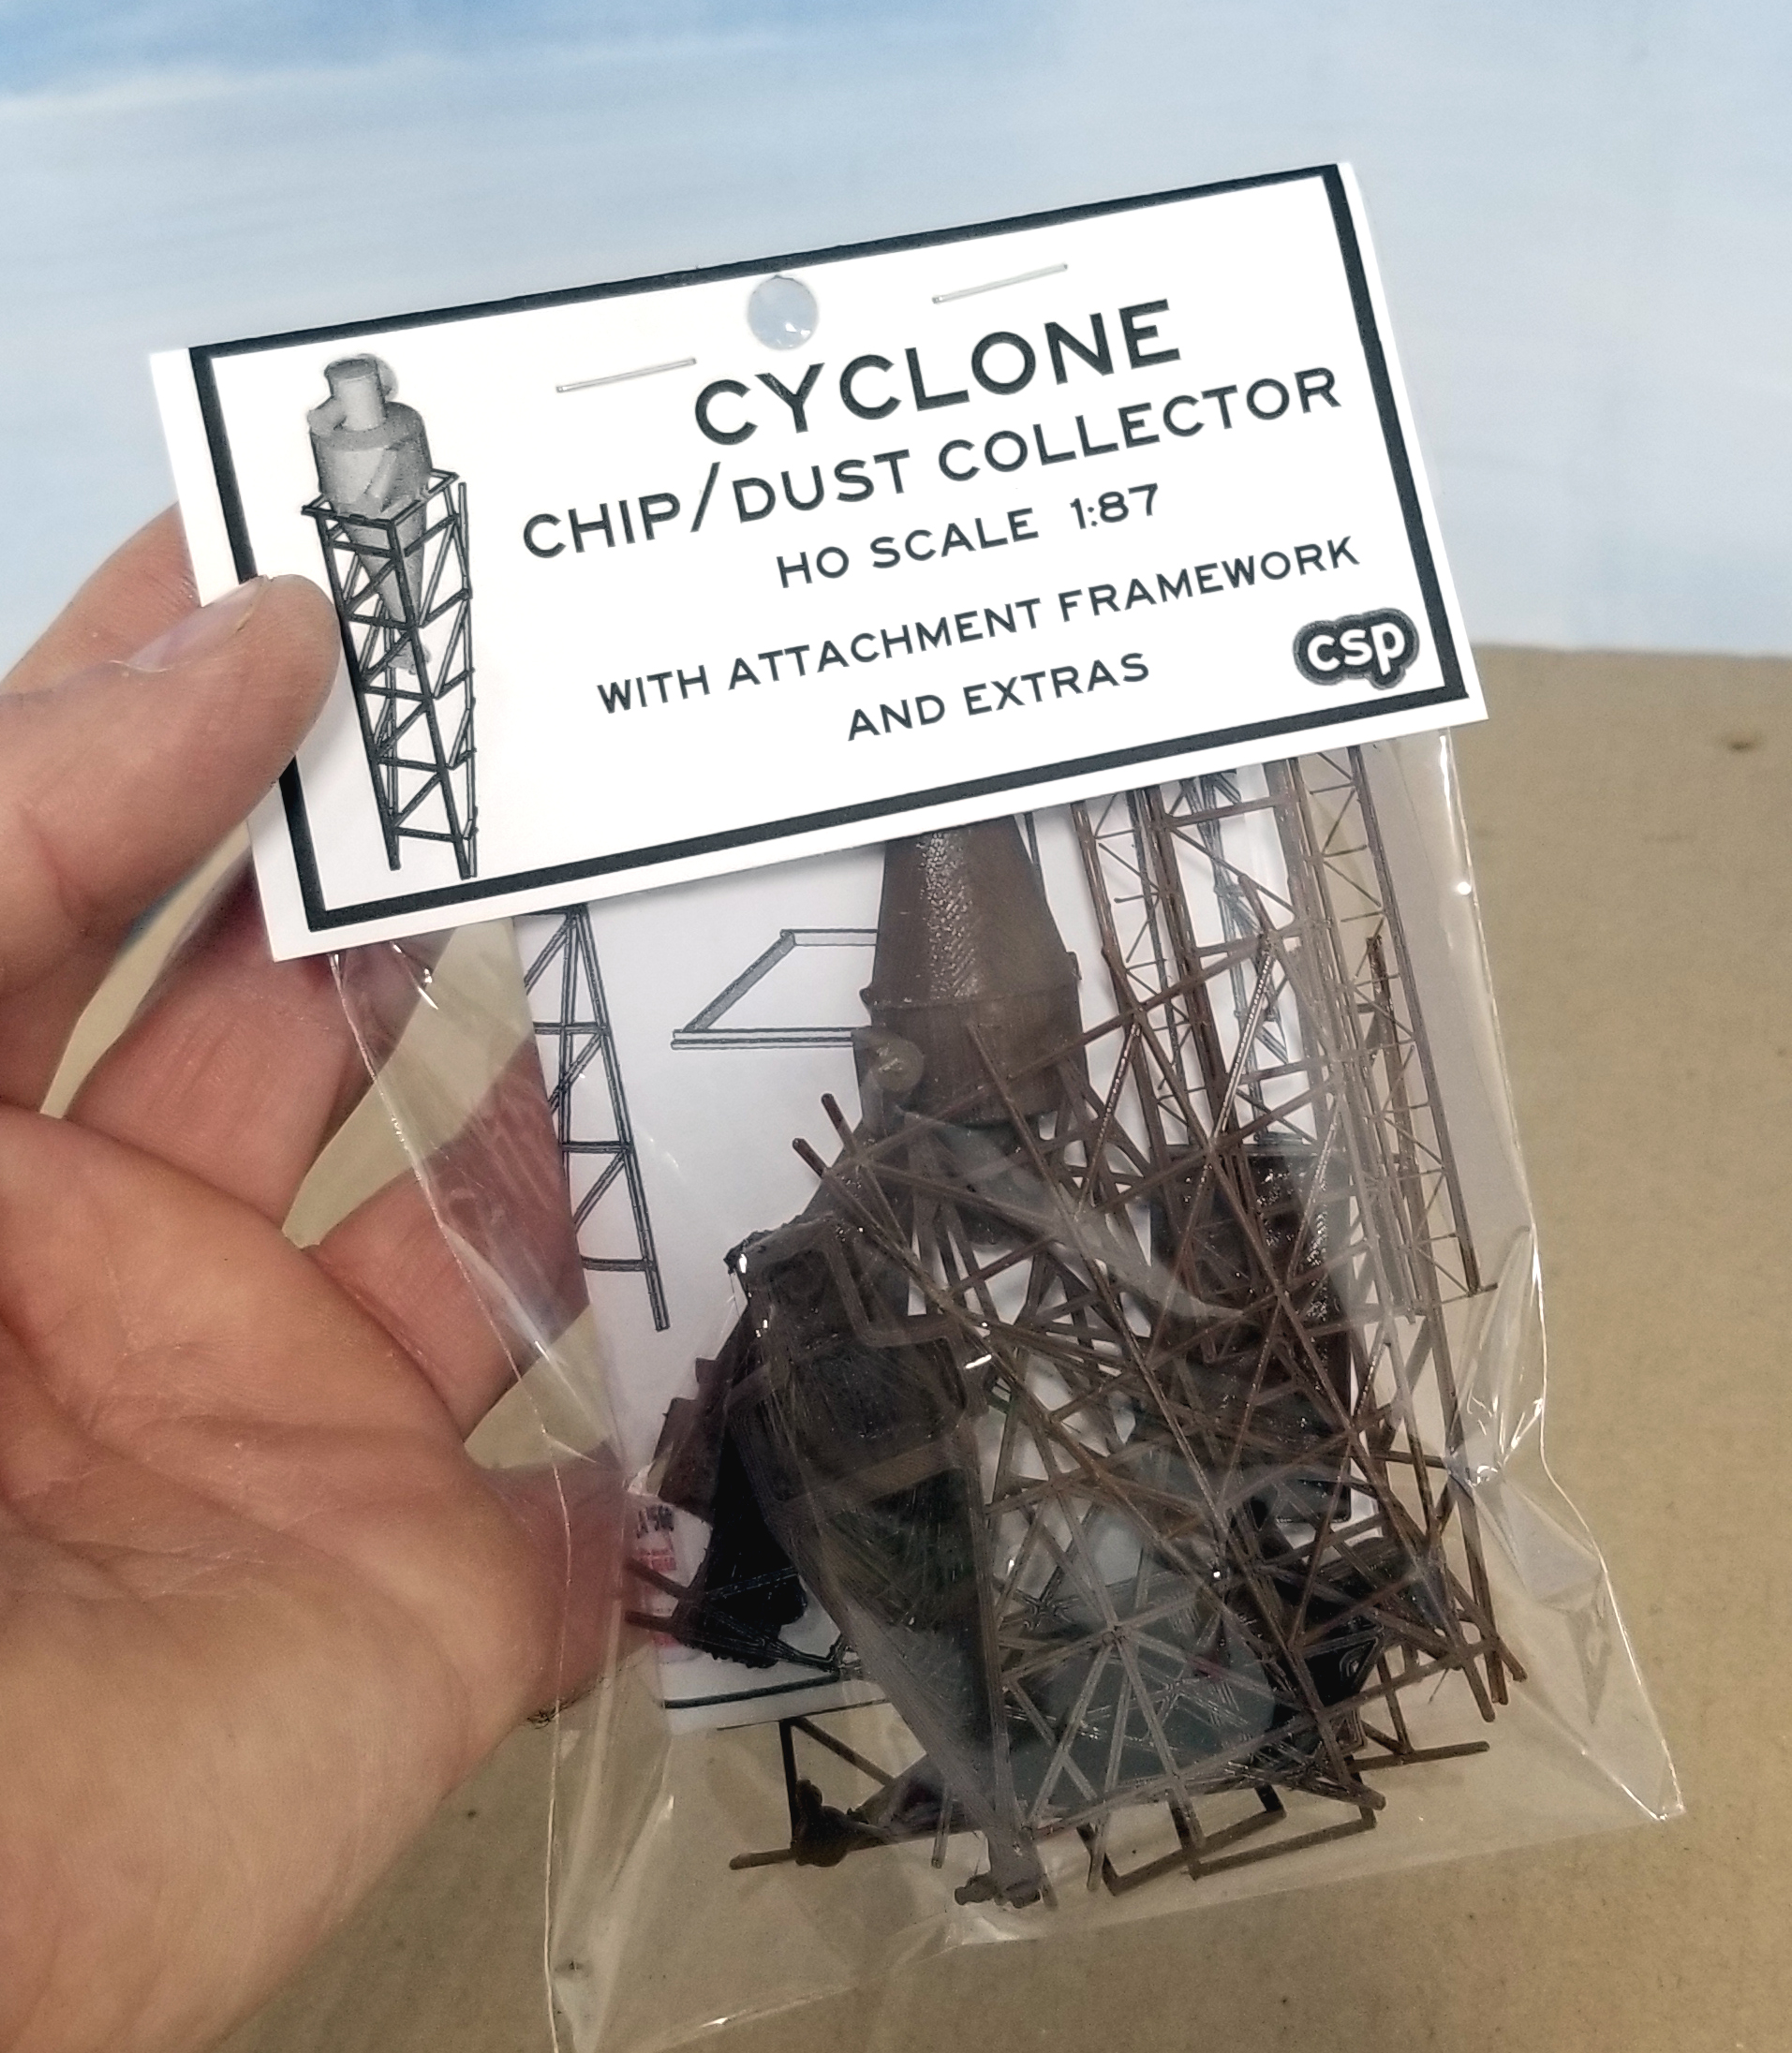
Likely the tallest structure in the mill, and the most interesting to view architecturally. We like to make ours a bit on the rusty side, akin to that of the model studied exclusively here. However, there exist many sizes and configurations of sawdust burners "in the wild". Some have a cyclone chip/dust separator attachment. Some have patches and damage to the screen and are generally falling apart. We offer our finished models in three sizes, and our Sawdust Burner Kits in two sizes. Also we have optional perimeter foundations, dust/chip separator/collector attachments, and plenty of sawdust.

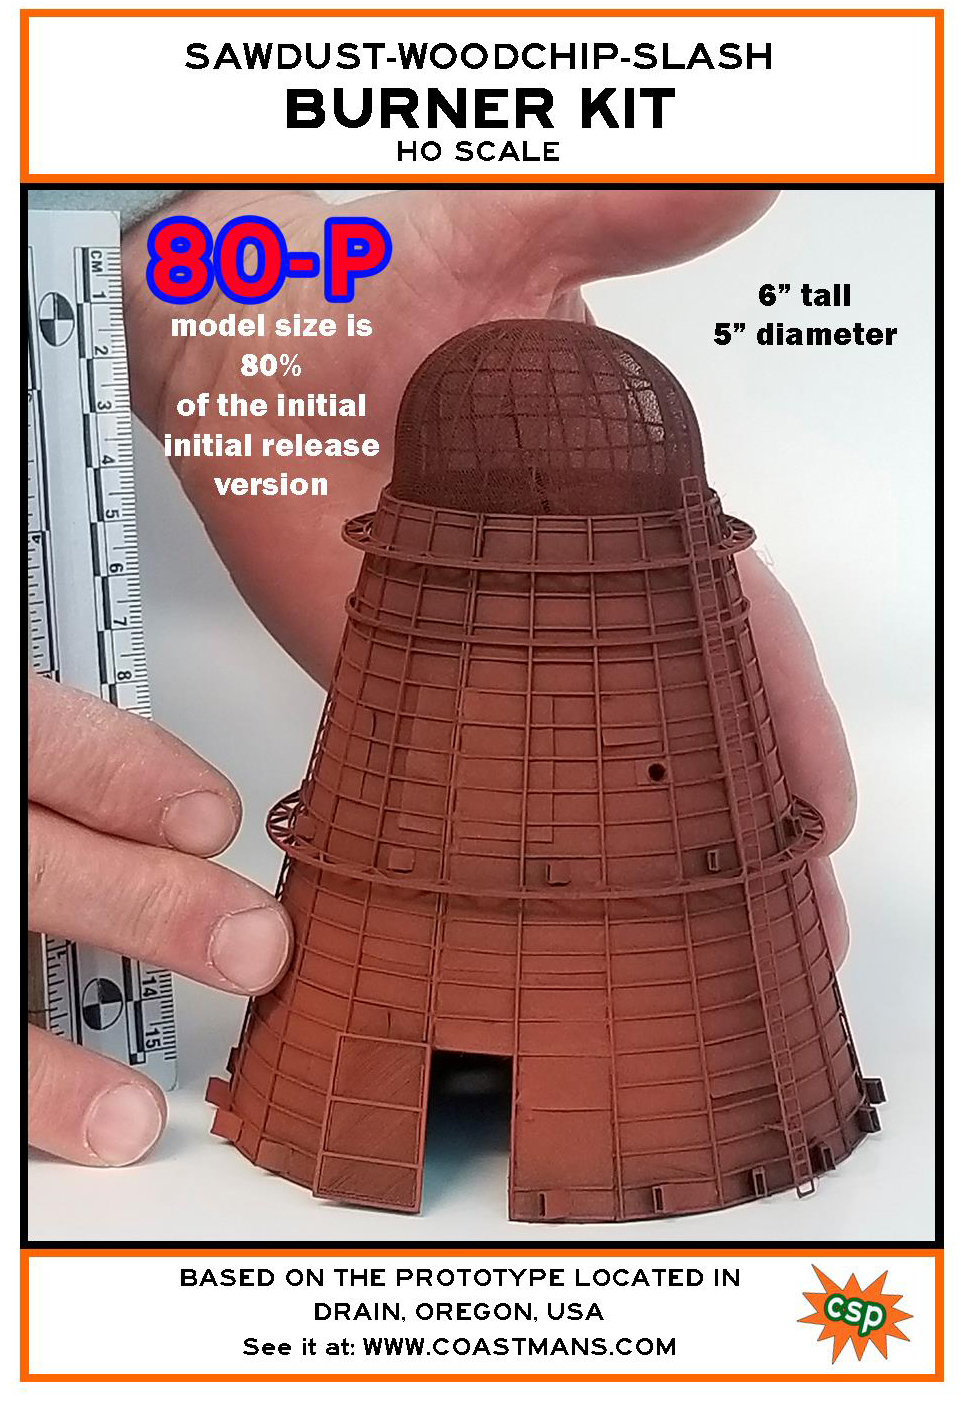
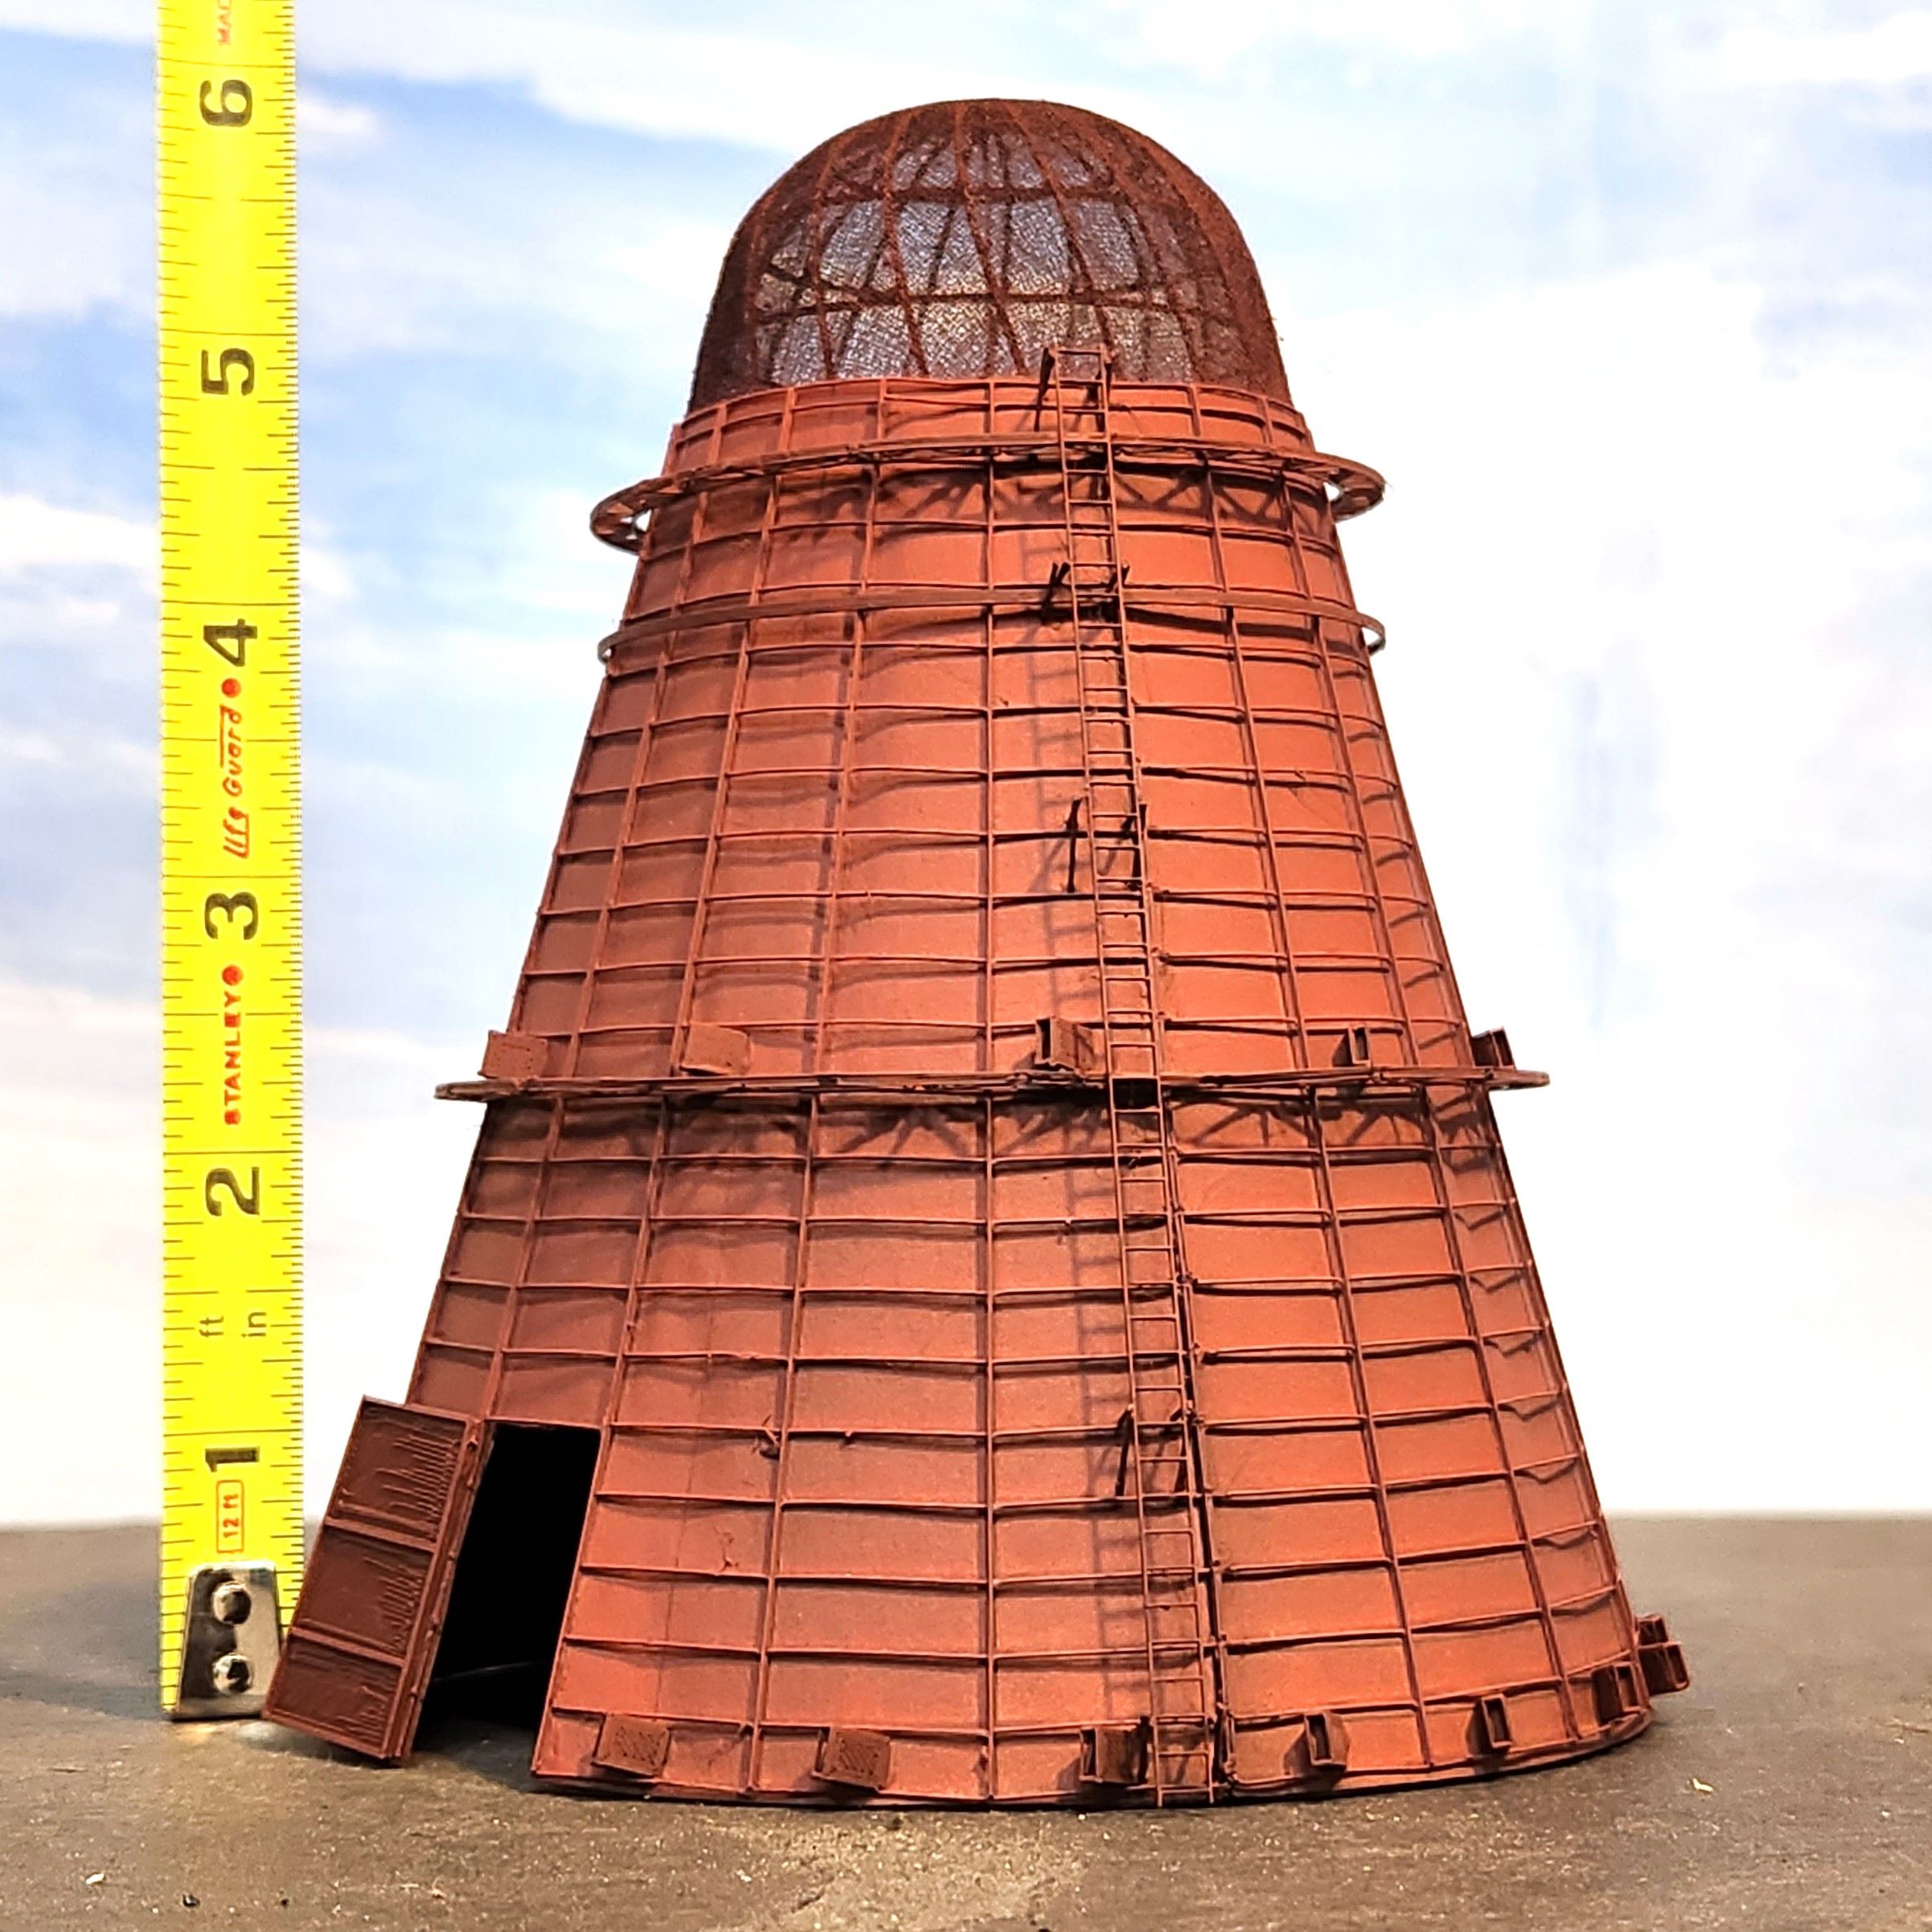
We still do not have a full-size O scale version yet. However, keep in mind our full-size HO version is 7.25 inches tall and 6 inches diameter footprint. That will take up a chunk of real estate on your pike for sure. Many in HO are choosing our 80% version (aka, "80P"). We have a finished model in 70% (aka 70P) which is a little larger than full-size in N scale. The real burner in Drain which this was modeled from is still standing over 60 feet tall!
This video was produced when I first introduced the Sawdust Burner Kit in March 2023.
PLEASE NOTE that I no longer recommend using white glue to laminate the individual conical paper sections. That will be messy as shown, and result in considerable warbling. The best two options to prevent paper warbling are: 1) 3M Super 77 adhesive spray, or similar (Modge-Podge, Elmer's, etc.) 2) high-quality glue stick, aka UHU stick, which produces zero harmful fumes. When we use the Super 77 spray, we have a large fume hood/spray booth for our models and we can use it in there and not have fumes in our faces. That is why I explored using the UHU stick for our customers, which is showing promise.
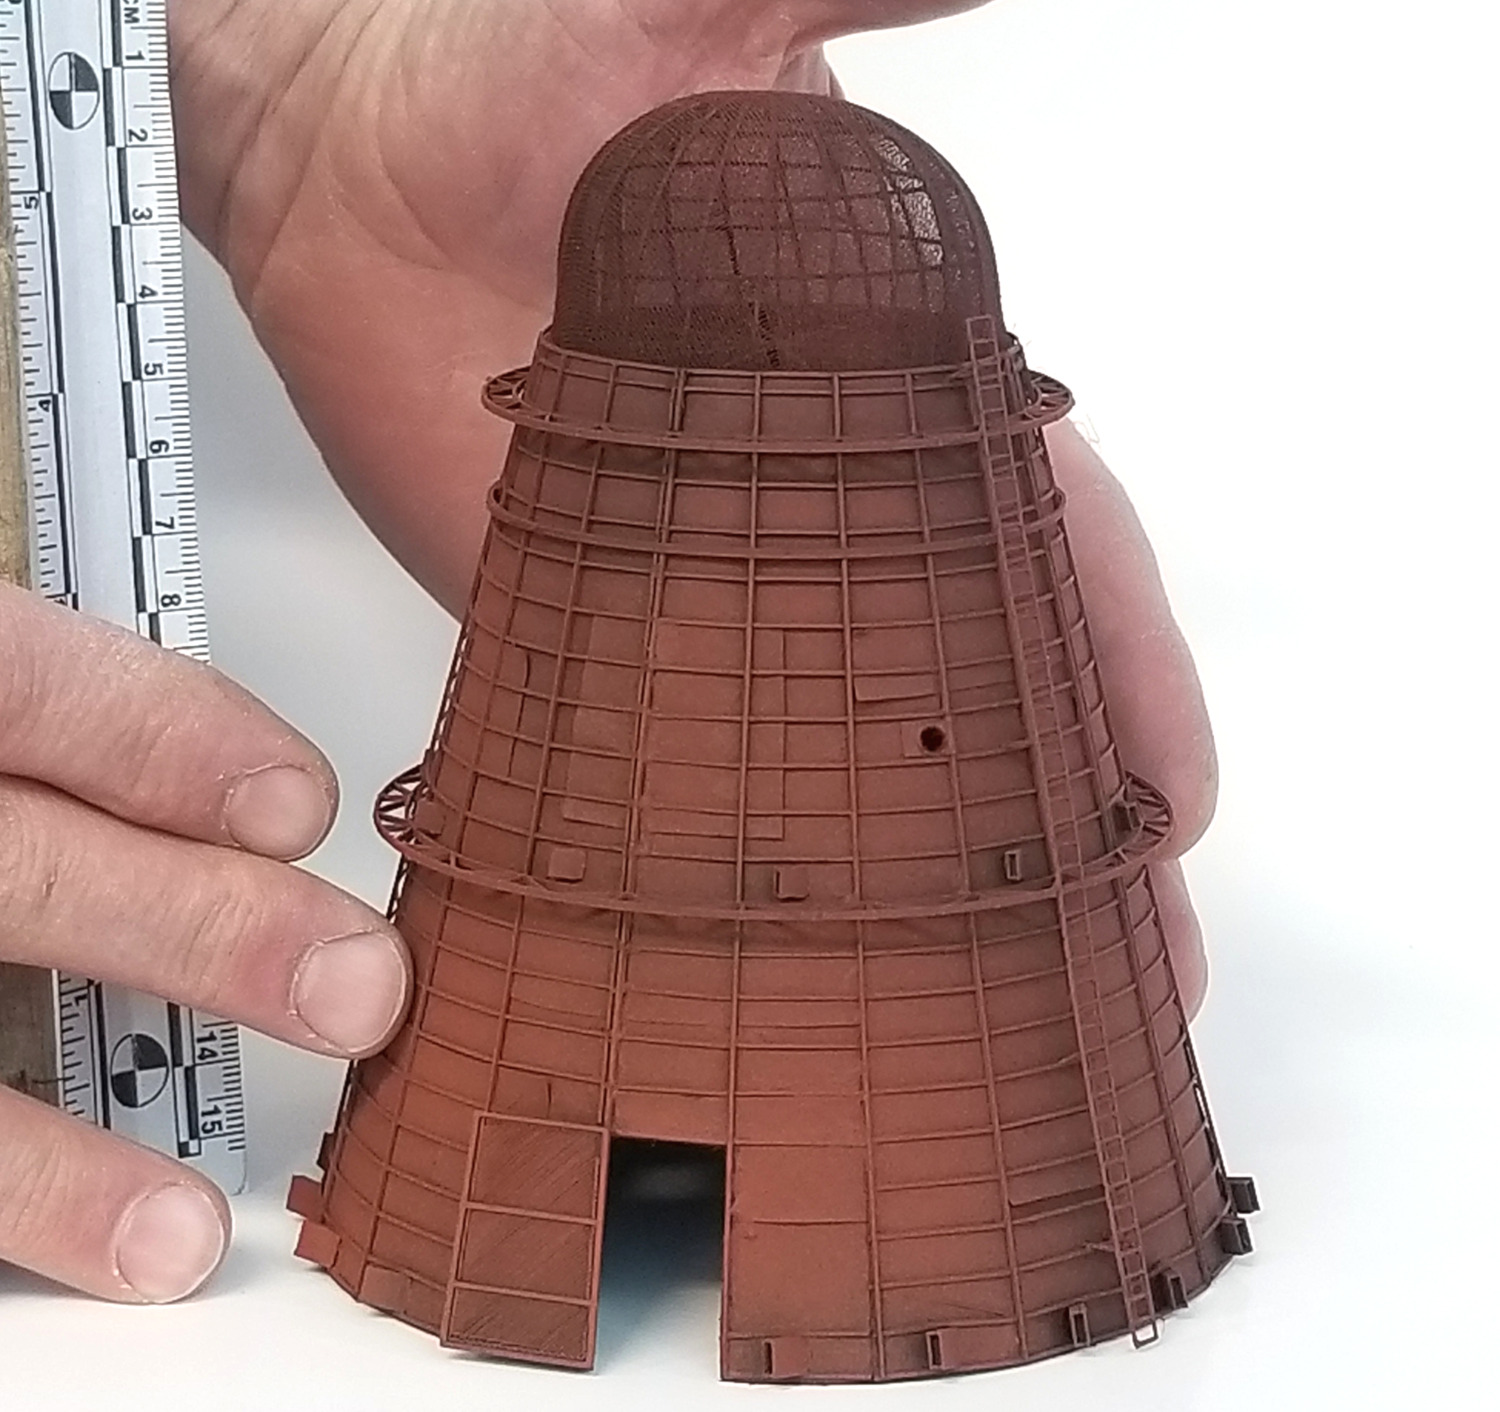
When I pull the "spark arrestor screen" over the "basket" framework, some force is necessary. I try to source the weakest hosiery I can find to make this step easier. Manufacturing in this sector of women's clothing has changed in recent years. My favorite material was sold and it appears the formula has changed. So I had to change the source, and this resulted in figuring out a different method in application.
-> No more soldering iron to secure the screening (hosiery) about the basket framework. <--
To apply the screening, I pull it over the basket, and then put a few twists in the material underneath the basket. Do not worry, this will be later trimmed. I use a small rubber band (included) with three or four twists (or as many as you see fit) to secure the material around the basket frame. I then make a few gentle adjustments to "optimize" the pressure or force against the framing so as to keep the hosiery stretched but not crush or alter the framing. Once set, I then use CANOPY Glue all about the edge of the basket over the hosiery. I avoid applying so much over the top edge that the adhesive will be visible: The basket assembly with the screening will sit slightly within the cone such that the gluing about the edges will not be seen. Once the Canopy Glue is totally dry (perhaps a day), I then can use small scissor to cut away the unsightly excess material from underneath the basket assembly. To apply to the burner cone, it is best to approach from underneath the cone and use the chopstick (included) to get the basket in the "just perfect" position. It is good to use a small amount of adhesive on the inside edge of the paper cone to help keep the basket in position. However, not until the basket is first tested and placed in position, because you do not want adhesive getting into the screening.
Some of the burner spark arrestor screenings now appear with a slight twisting of the internal framing, this due to the pressure or force required to produce adequate pore size on the screening for correct appearance. This varies. The 3D design on the framing parts is critical. I do not want these getting so large as to overcome the appearance of the original prototype which was not much more than 5/8" rebar! I personally despise thick, heavy, unrealistic parts for robust construction in lieu of realism. We must do our best!!! Some prototype burners actually appear to have exhibited some inner twisting of the basket framework, though I am uncertain as to why.
This one is about how to make the Sawdust Burner from the kit.
This one is about how I obtained all the measurement data from the real burner located in Drain, Oregon.