May 1, 2023
The basic essentials for making a basic (aka "Standard") fir tree from one of our kits.
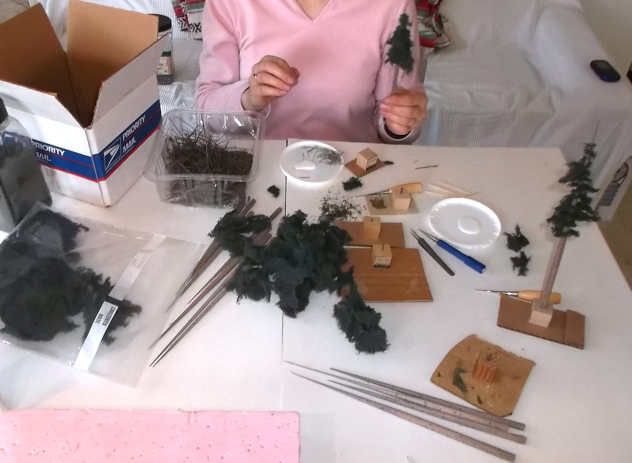
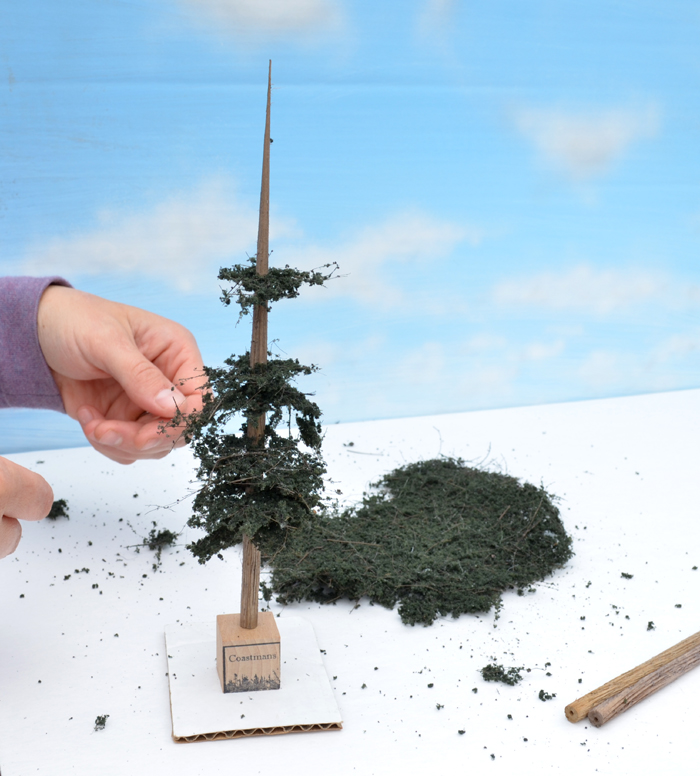
Place the foam scrap on the table directly in front of you. All other materials will be placed around the central area.
Open the kit over the box or tub. This helps to catch all of the "fallout", or additional foliage material that can be applied to the tree after the build.
Tear the foliage material into several smaller pieces each about 2 inches across.
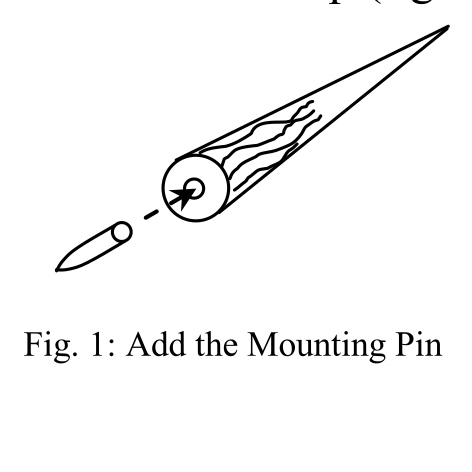
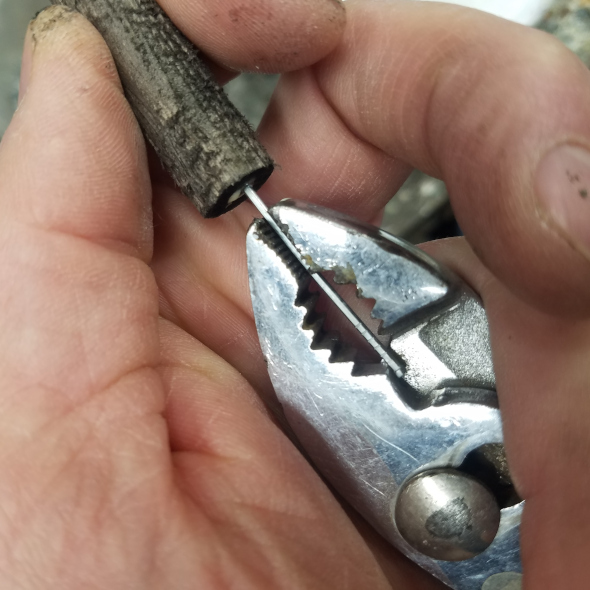
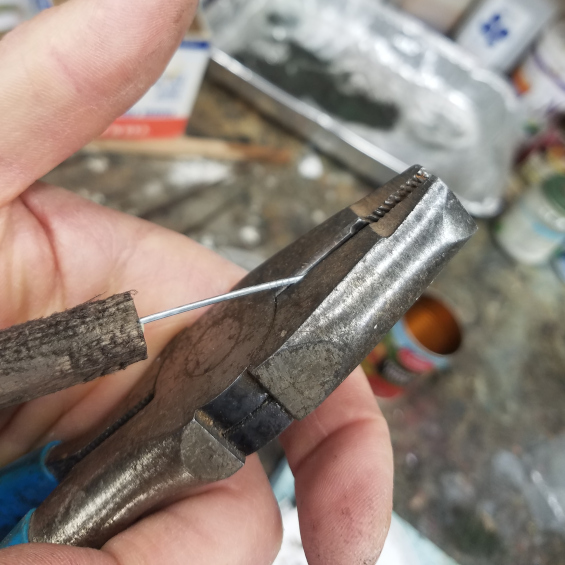
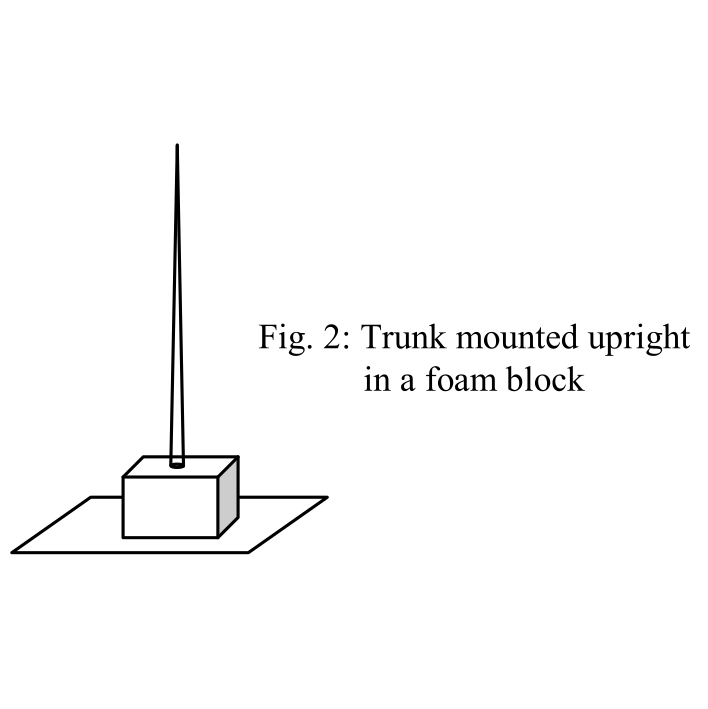
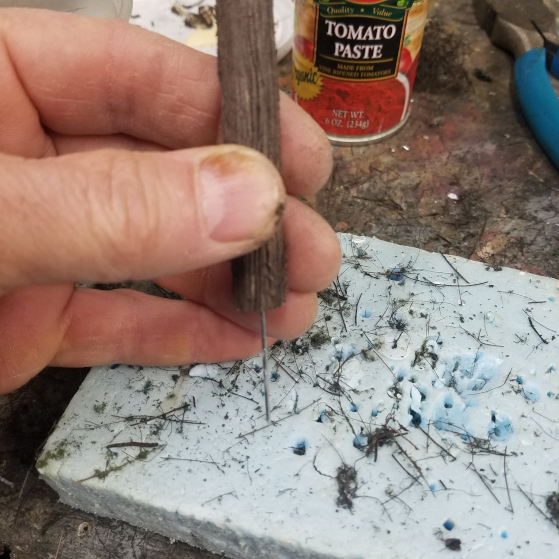
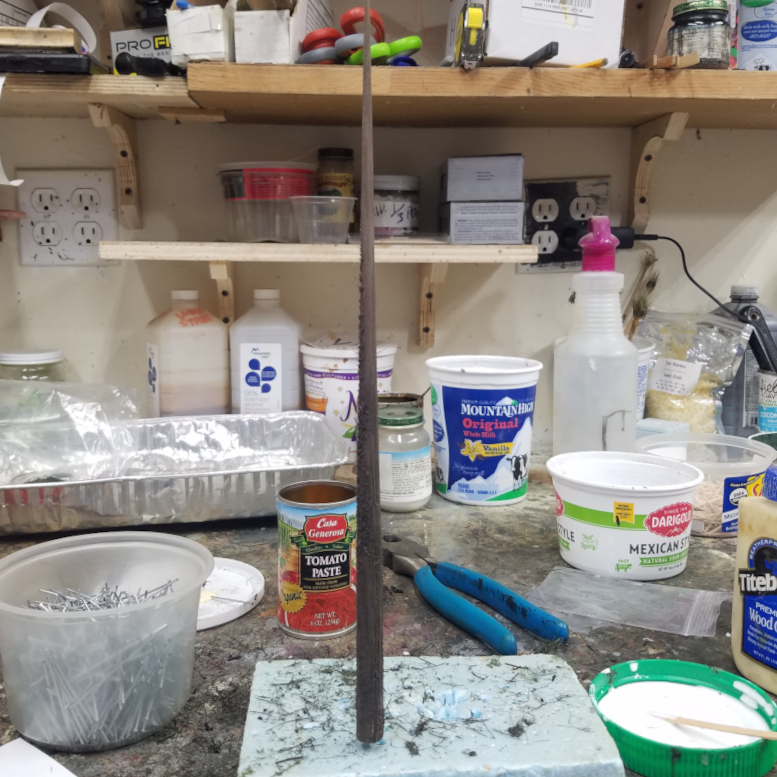
Place a planting pin in a trunk. Your choice, toothpick or steel. Steel is stronger but requires that you sharpen the ends somehow. This is done most easily with a good pair of linesman pliers. Cut one end diagonal to sharpen it. Dip in yellow glue and insert into the end of the trunk. Push in a little with regular pliers. Don't push terribly hard.
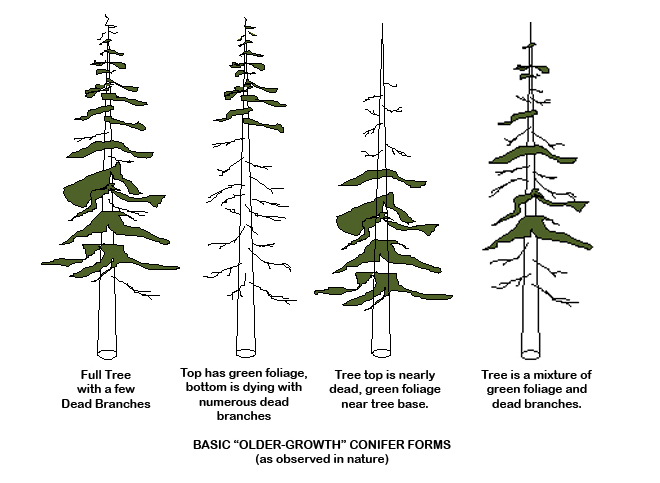
Real trees come in more than a variety of shapes and sizes. One thing to remember is that the wider the pieces of foliage you apply, the greater the overall width will be. Trees that are short and wide tend to look like young trees. Taller trees are proportionately narrower. Therefore, if you want the appearance of tall, "old growth" trees, use pieces of foliage that are narrow. How so? Suggestion: for HO scale, no greater than 1.5 inches in the middle, widest part of the tree! This also results in conservation, allowing you to make more trees with a given pack.
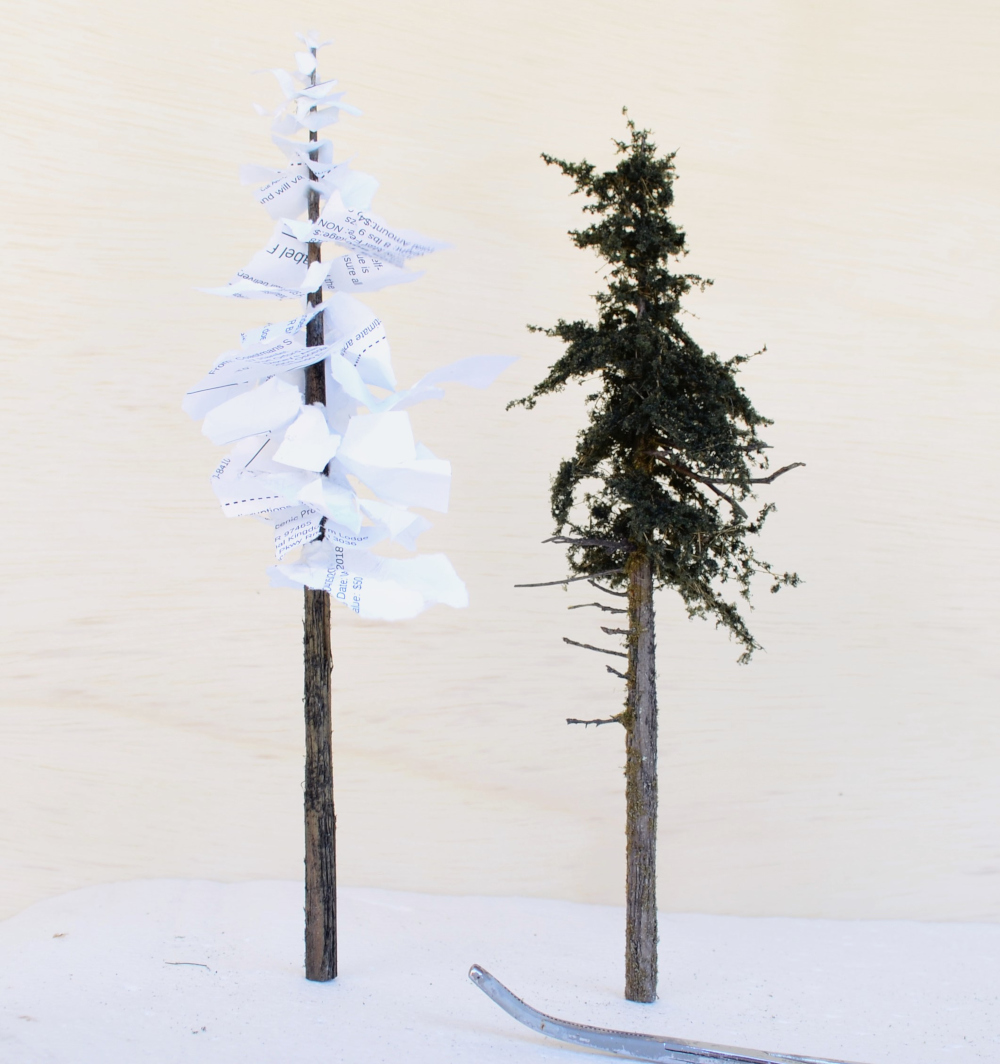
One thing to try before using the Green Branches material is to try it with some other material. All Coastman's employees start out making trees using white copy paper! This is somewhat painful given we have copious Green Branches, but I want them to learn the form of the tree. When the "green' is removed from the equation, all that's left is the shape. Perfect the shape first, then use the colored stuff. That's what I always say.
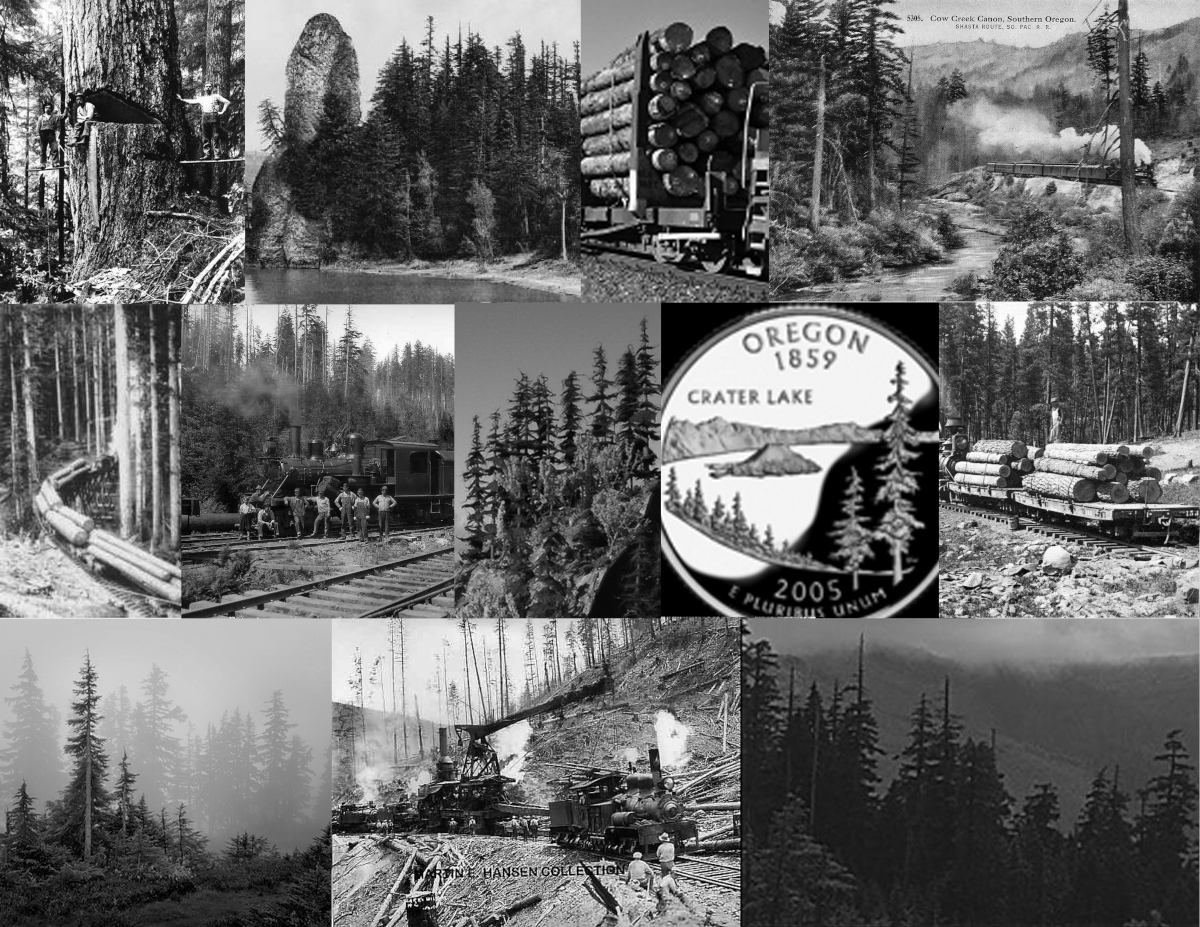
Spend a little time studying the trees you desire to have. Do you know what species they are? What are the general shapes and profiles? While we are model railroaders and not botanists, it is important to the realism of your layout to know something about the appearance of trees in the region of interest. Also, the time period / era you are working on is important too, especially if you are working in pre-1960's as we had much bigger firs before that time.
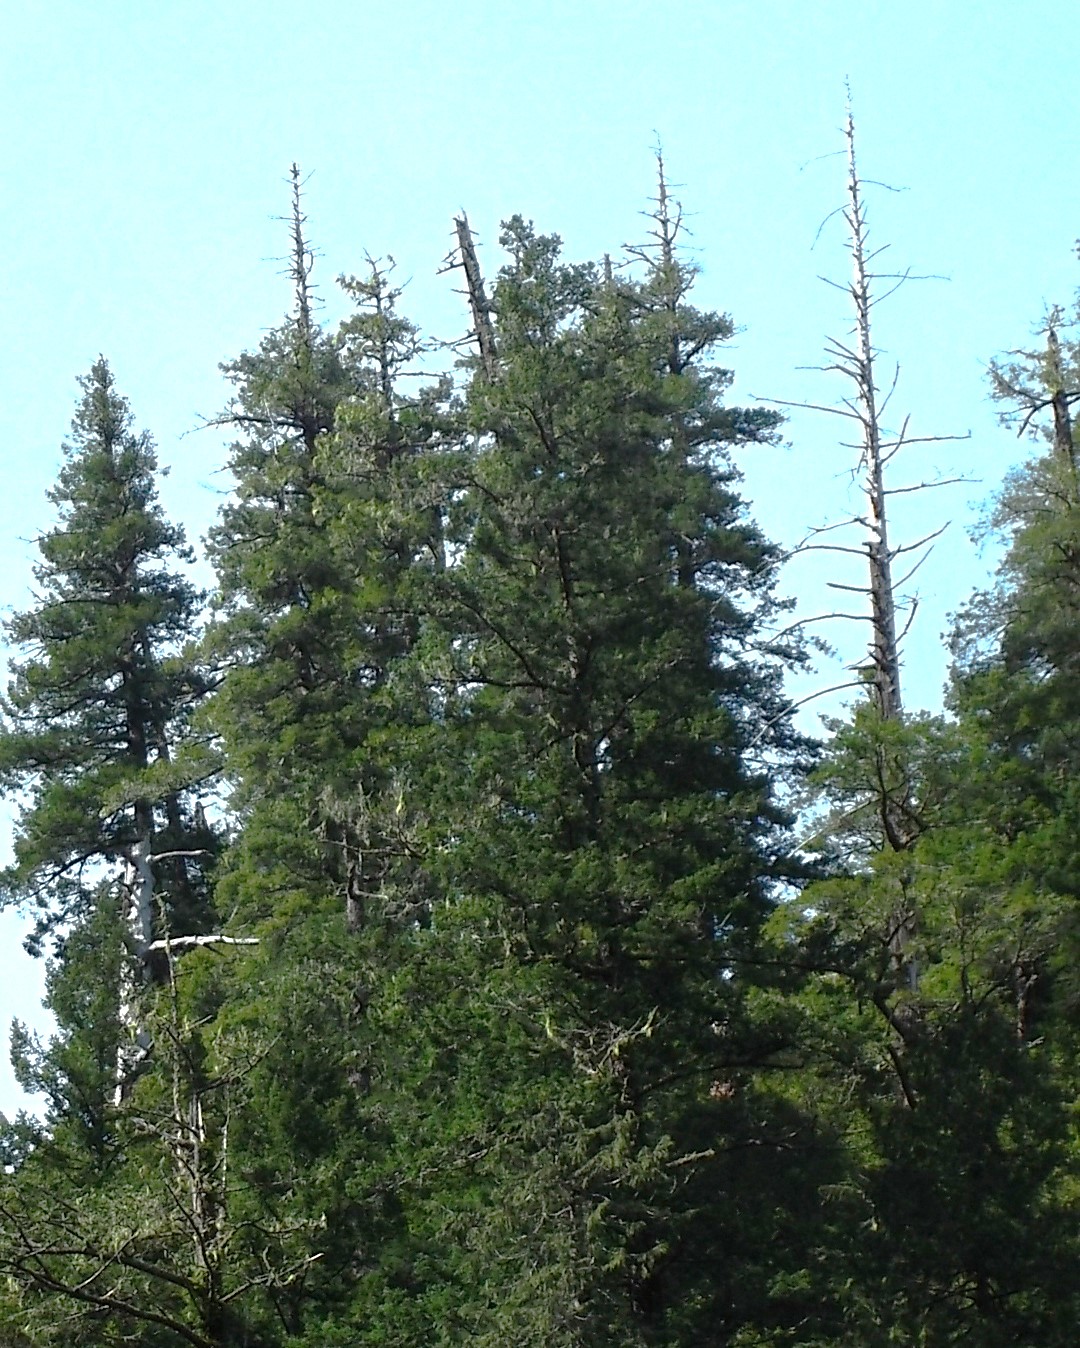
As pertains to firs, while viewing from a distance, younger trees appear as small triangles, whereas older trees look rather oblong or ovals. For tall fir trees, consider that most of the foliage is high in the tree. As seen in many forests, the canopy is often the final 1/3 of the tree.
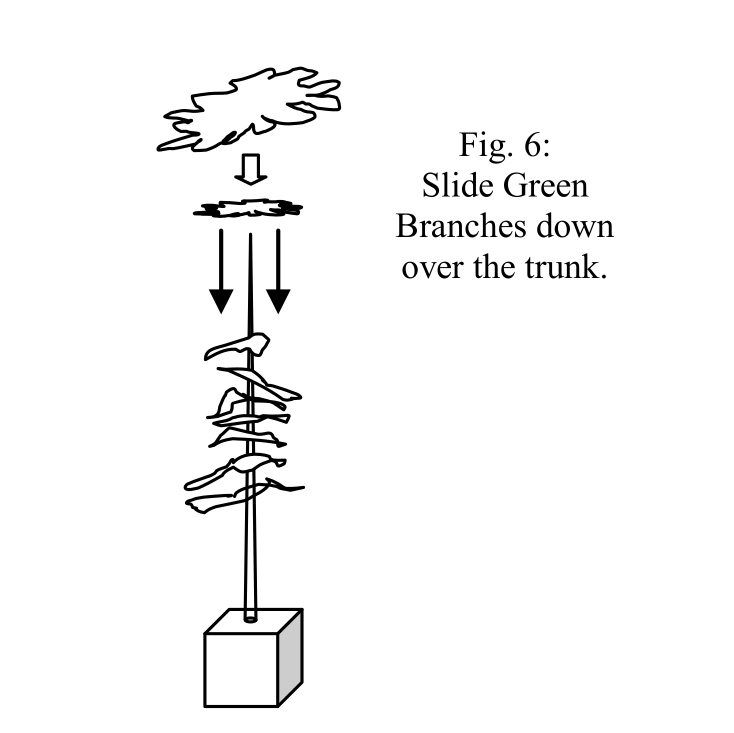
The "over the top" process is inherently simple. One tears off small chunks of the foliage and places them over the top of the trunk. Secure the trunk in a block of foam. Begin with a 1 inch wide pieces. Add some glue to the trunk with a stick. Pierce it by placing over the top of the trunk, and slide the piece down the tree.
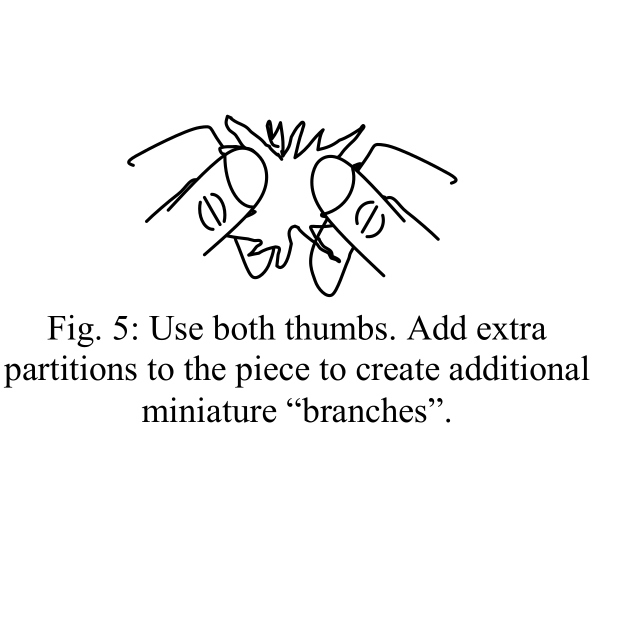
The problem occurs when you are trying your best to make the tree you wish to emulate in reality. One must decide upon the spacing of the foliage, the width of it, and whether to impart some aspect of shape to each piece. When I make firs, I insist that each bow have a sway or bend to it, much the way gravity asserts its effect on the heavy limb, but noting the desire for that sunlight will bring the tips upward at the end. I do most of the shaping after the foliage segment is on the trunk. As I slide the foliage down, I press with my fingers to "drag" the center of it through the glue to collect it. This is why glue must be applied nearly every time a foliage segment is applied. And I use plenty of glue!
Making trees is simple in thought but most find that it takes considerable practice before one is producing the desired shapes. Be sure to check out my YouTube videos about the subject.